Removing Tile Paint from Quarry Tiles with Remove and Go in Shrewsbury
This is the second part of the floor restoration work we completed at a property in Bayston Hill near Shrewsbury. This post concerns the restoration of a Quarry tiled floor in the dining room whereas the previous post dealt with the Victorian tiled hallway.

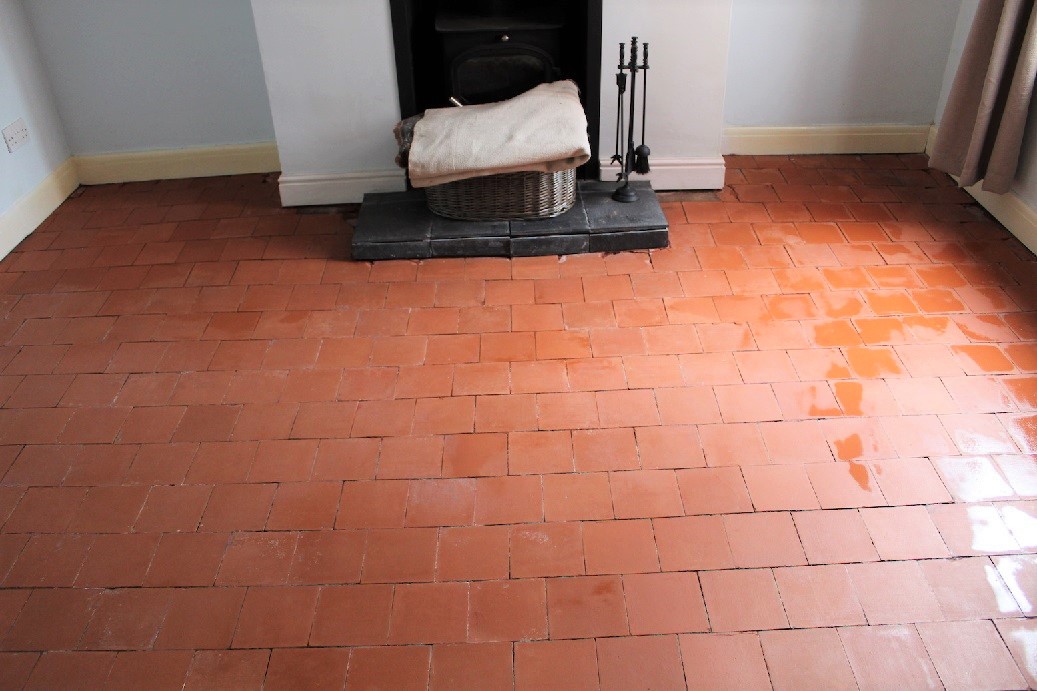
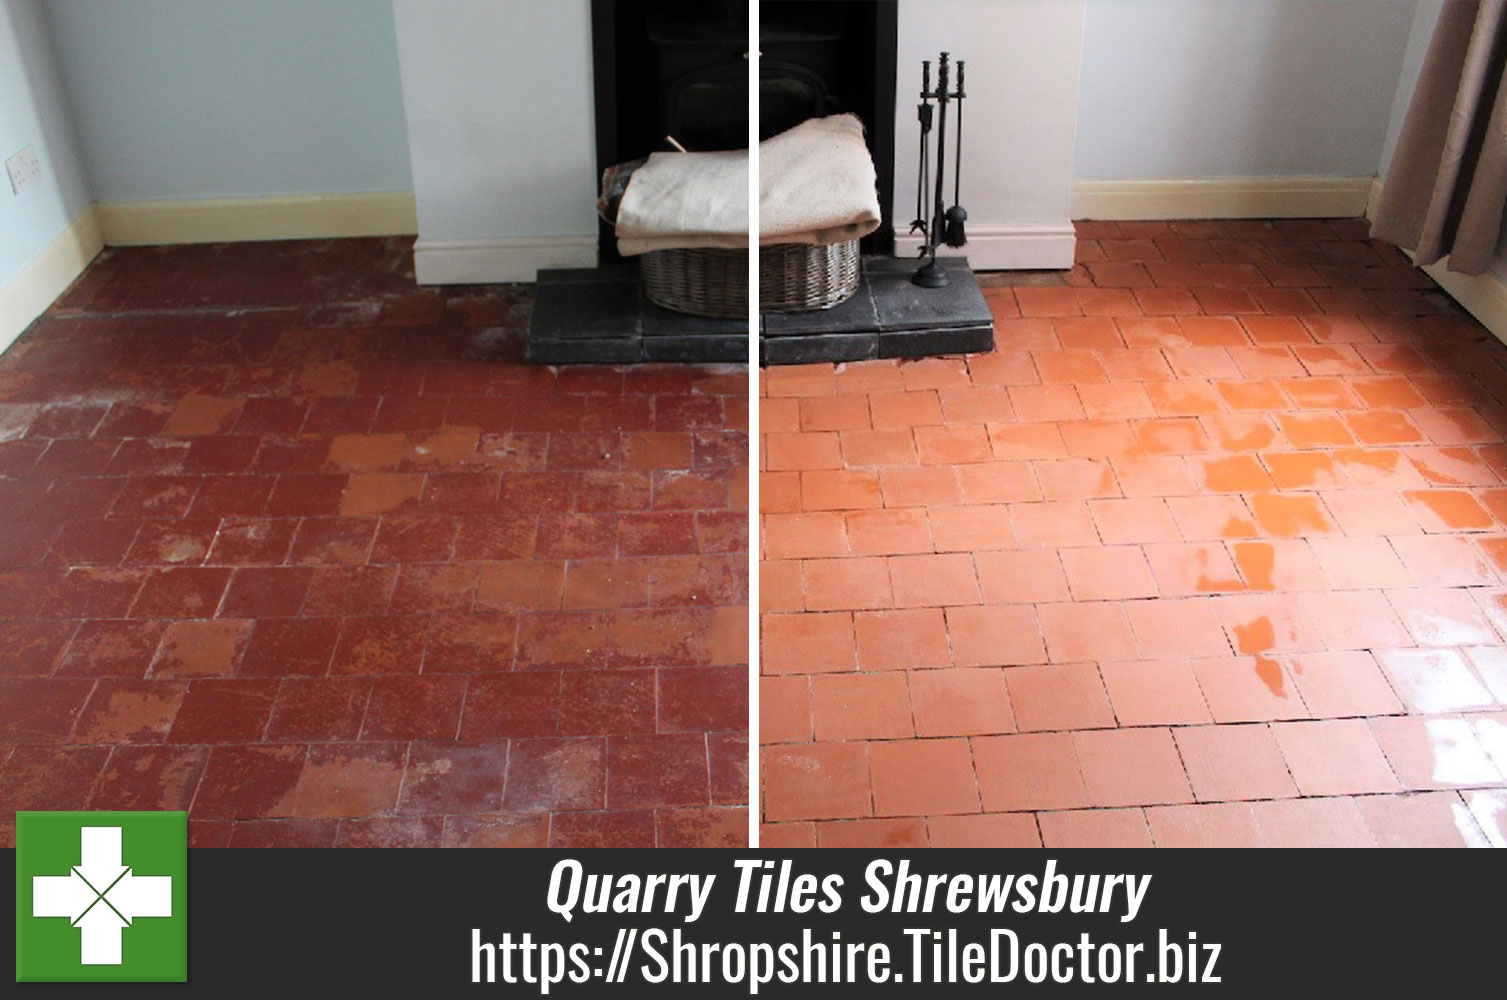
Unlike the hallway the hallway the tiles in the dining room where well fixed, although there were a couple of tiles missing by the door which had been replaced with cement. The only other problem was their appearance, it looked as though they had been painted with several layers of tile paint during in its long history and this was now looking very patchy.
For this floor we needed to source a few matching Quarry tiles to be fixed in the doorway and then give the whole floor a very deep clean making sure to remove what remained of the paint in the process. Finally apply a fresh seal to the Quarry tiles which would help the original and replacement tiles blend in.

Repairing a Quarry Tiled Hallway Floor
Work started by chopping out the cement in the doorway threshold so the replacement tiles could be laid. This had to be done very carefully so as not to disturb the existing tiles. Once done the resultant rubble was cleared out and the subbase brought up to the correct level.
Replacement Quarry tiles are not that difficult to find, naturally however each one needed to be cut to fit exactly which took a little time. I always buy more than I need to allow for breakages etc, tilers usually recommend buying 10% more than you need and then to keep the spares in case you need to replace some later. With the tiles nicely shaped to fit the last step was to secure them in place with fast setting adhesive and grout.

Deep Cleaning a Quarry Tiled Hallway Floor
Once the tiles has set I was able to start the deep cleaning process for which I used the same process as the hallway tiles. In summary the Quarry tiles were sprayed with a strong dilution of Remove and Go which was left to soak in for around fifteen minutes before being scrubbed in using a rotary machine fitted with a Black pad. This generates a lot of slurry as the dirt and tile coatings are lifted out of the tile and into the cleaning solution; the slurry is then rinsed away with water and extracted off the floor using a wet vacuum. Once done the floor was inspected and then retreated as needed until I was satisfied it was as clean as possible.

The next step was to give the tiles an acid rinse using Tile Doctor Grout Clean-up which is designed to remove old grout smears and salts from the tile. Salts can be a real problem on old Quarry floors with no damp proof membrane as there is nothing to stop salts being caried up through the tile from the subfloor and being left as white deposits as the moisture evaporates, a process commonly known as Efflorescence and quite common with old Quarry tiled floors.
Sealing a Quarry Tiled Hallway Floor
With both floors clean they were left to dry out for a week before I returned to apply the sealer. It’s important for tiles to be dry before sealing or the results can be patchy.

For both floor I opted to use Tile Doctor Colour Grow which is an impregnating sealer that leaves a matt finish and works by occupying the pores in the tile protecting it from within. It’s also fully breathable so won’t prevent moisture rising through the tile and it contains a colour enhancer that will help improve the colours in the tile.

Source: Quarry Tile Floor Restoration Service in Shrewsbury Shropshire
