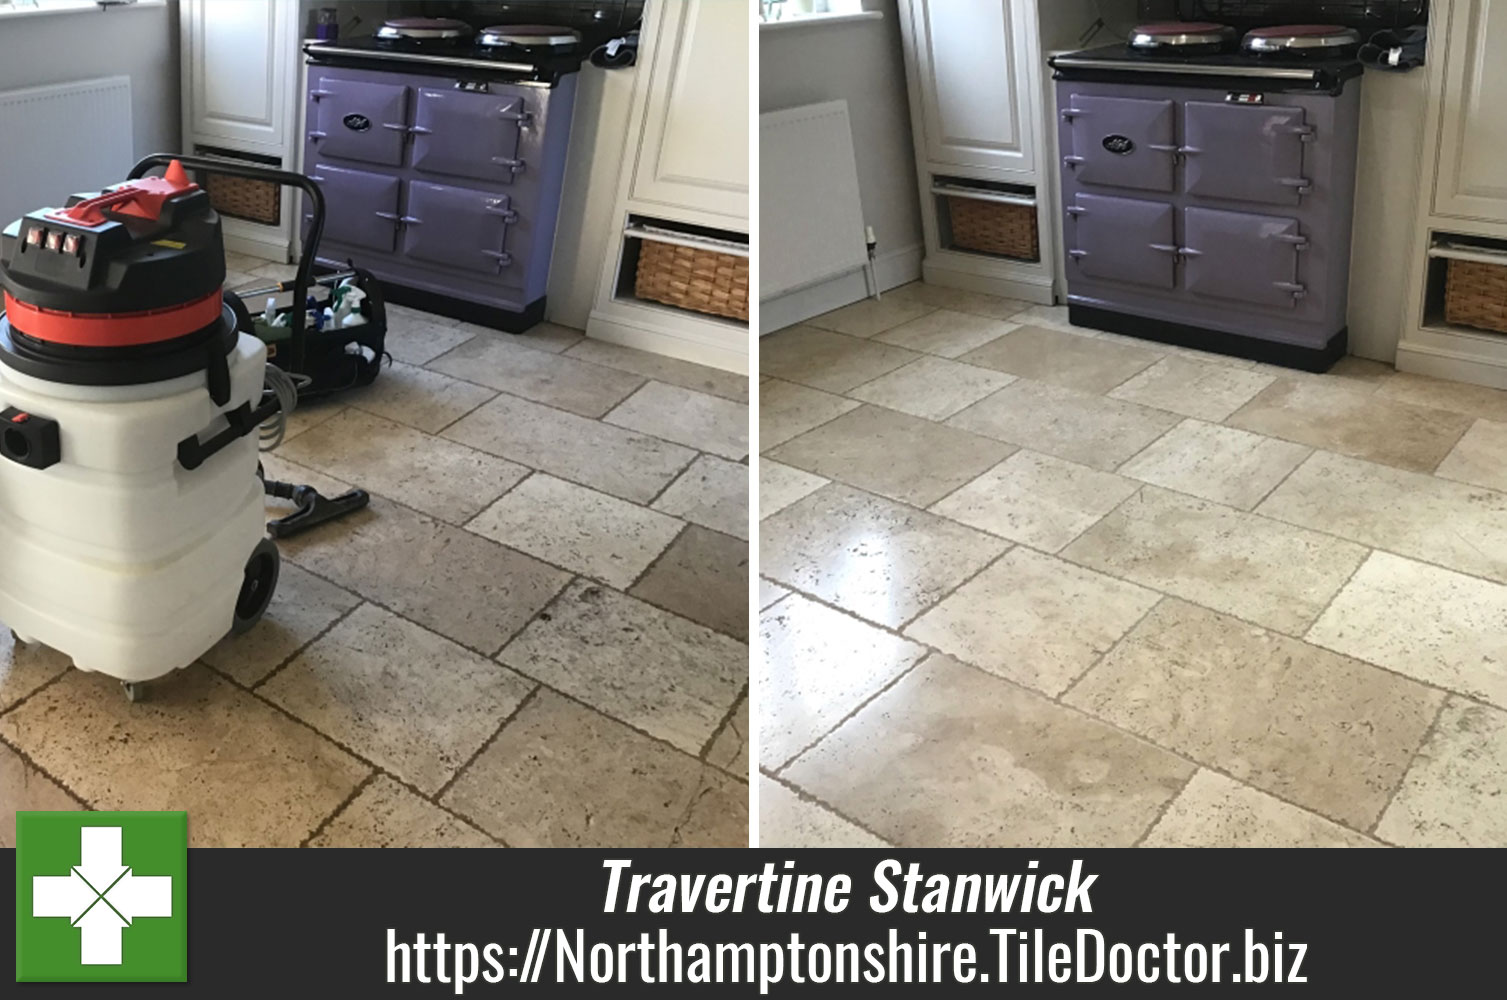
Polishing Travertine Flooring with Tile Doctor Burnishing Pads in Stanwick Northamptonshire
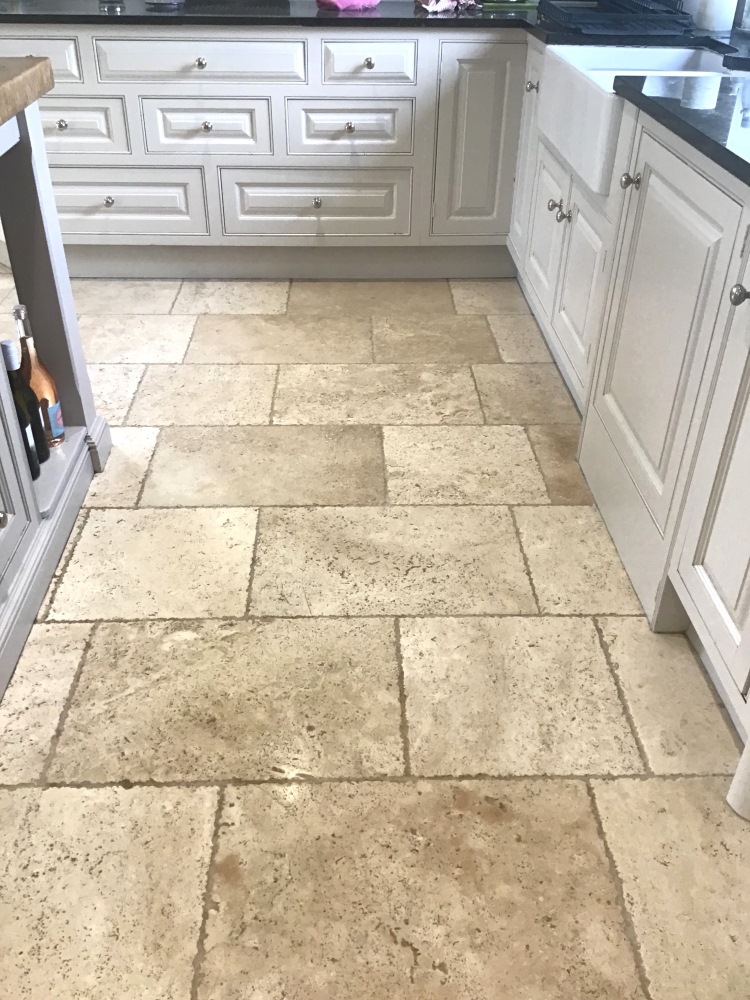
A homeowner from the village of Stanwick near Wellingborough contacted me about their Tumbled Travertine Kitchen floor which was proving very hard to maintain. Having worked on similar floors before I was confident of helping and so arranged a date to pop round and come up with a plan for its renovation.
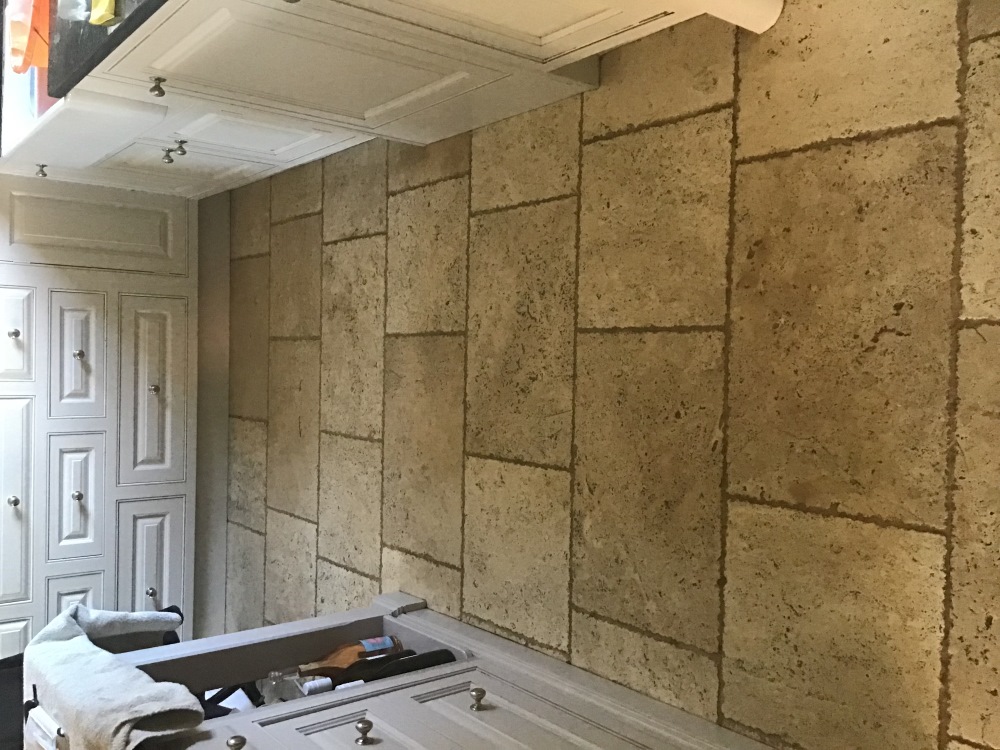
Surveying the floor, I could see the main problem was the pitting in the tiles which are basically small holes and is quite common with Travertine. Dirt was becoming ingrained in the holes which were proving very difficult to remove with regular cleaning and this left it looking dull and permanently dirty. I recommended deep cleaning the floor to remove all the dirt, filling the holes, polishing the stone to bring back its appearance and then sealing to protect it going forward.
Happy with the plan I created a quote for the work which was agreed and a date set for our return.
Cleaning and Polishing a Travertine Tiled Floor
I gave the floor a sweep to remove any loose dirt and grit and started with the application of the first pad which is a coarse 400-grit and designed to remove minor scratches, old sealers and ingrained dirt. The pads fit a 17” buffer machine and is applied with water to lubricate the process, then once the pad has been applied to each tile the floor is rinsed with water and the resultant slurry is extracted using a wet vacuum.
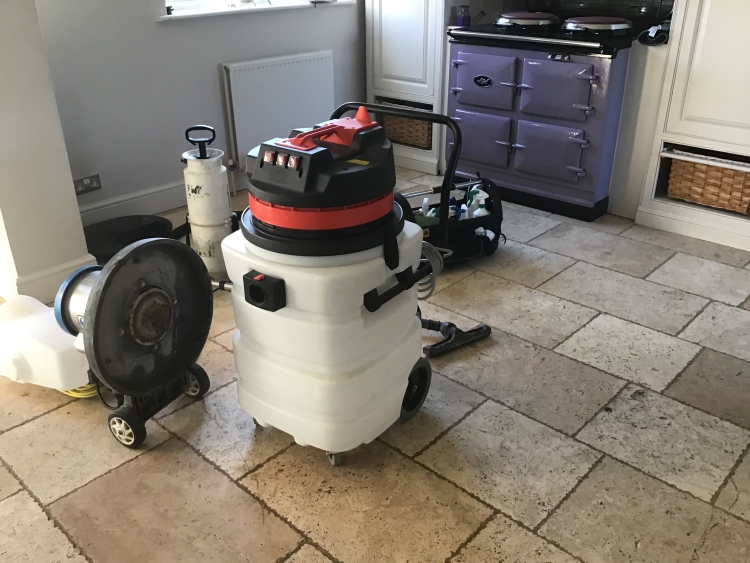
Before moving onto the second pad in the set I gave the grout lines a clean with Tile Doctor Pro-Clean which was scrubbed into the grout using a stiff narrow brush. The pads can struggle to reach into the recessed grout lines, so I usually find this is the best way to get the grout clean.
The floor was given another rinse with water and then I continued to work through the medium 800-grit and then fine 1500-grit pads rinsing with water and then extracting the slurry with a wet vacuum after each pad.
The Travertine was now clean and after drying with fans I commenced the task of filling the larger holes with a resin filler that matched the natural colour of the stone as close as possible. The filler takes an hour to set and then the patches are rubbed down with handheld burnishing blocks.
Sealing a Tumbled Travertine Tiled Kitchen Floor
I returned the following day and started by completing the polishing process by applying the last 3000-grit very fine burnishing pad with the 17” rotary machine, the pad is applied dry with a small amount of water sprayed on the floor as you go along. With the floor now fully dry and the filled holes polished flat the last step was to apply the sealer which will protect the floor going forwards.
Last step was to seal the Travertine to prevent dirt from becoming ingrained in the stone going forward. To do this I applied two coats of Tile Doctor Colour Grow which is a colour enhancing sealer which works by soaking into the pores occupying the space and thereby preventing dirt from residing there. This ensures that dirt remains on the surface where it is easily cleaned away.
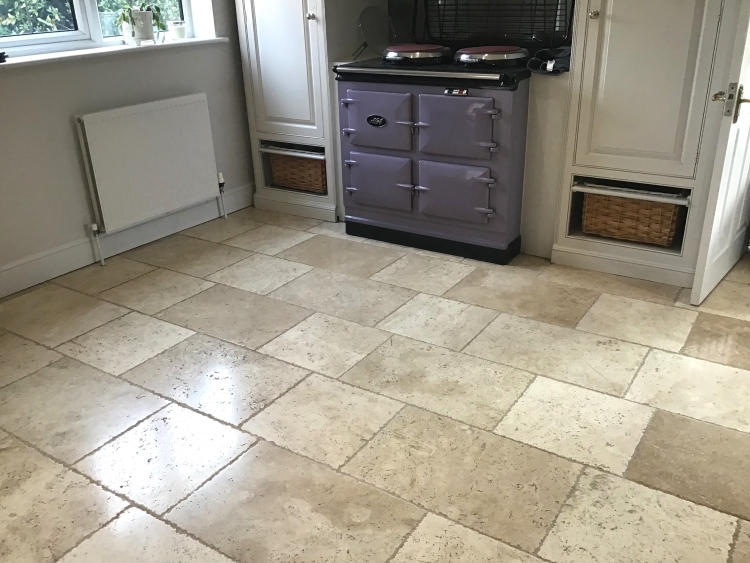
Once done the floor looked so much healthier and the new sealer will ensure that the Travertine keeps its appearance and is much easier to clean in future. Regarding cleaning, I recommended the use of Tile Doctor Stone Soap for the regular cleaning of this floor. This product is formulated for use on sealed stone and it help maintain the patina.
Source: Stone Floor Polishing Solutions and Services in Stanwick Northamptonshire
