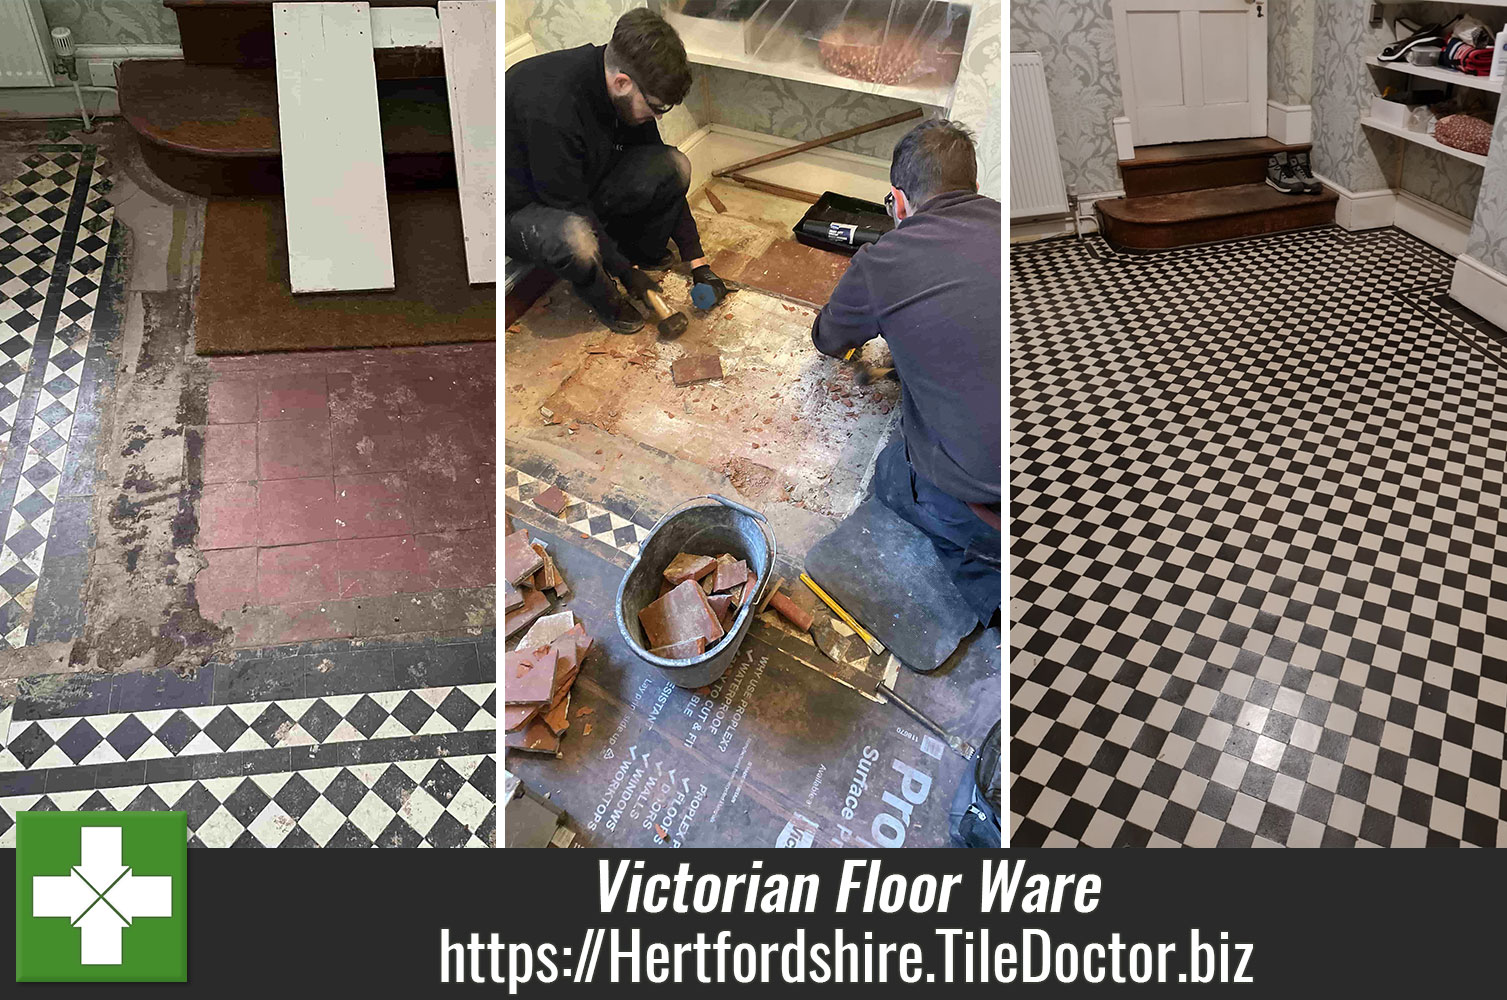
Achieving a Rich Satin Finish on Victorian Floor Tiles with Tile Doctor Seal and Go in Ware
Pictures below are from a Victorian tiled floor we recently reconfigured and renovated at a property in the town of Ware near Hertford. The floor had been covered in Vinyl for many years and underneath was the Victorian tiled floor and a section of Quarry tiles at the bottom of the stairs. Parts of the floor had also been dug up at some point in its long history and back filled with concrete, so it was now in quite a state. The owners were now keen to renovate the entire floor to create one consistent Victorian tiled hallway.
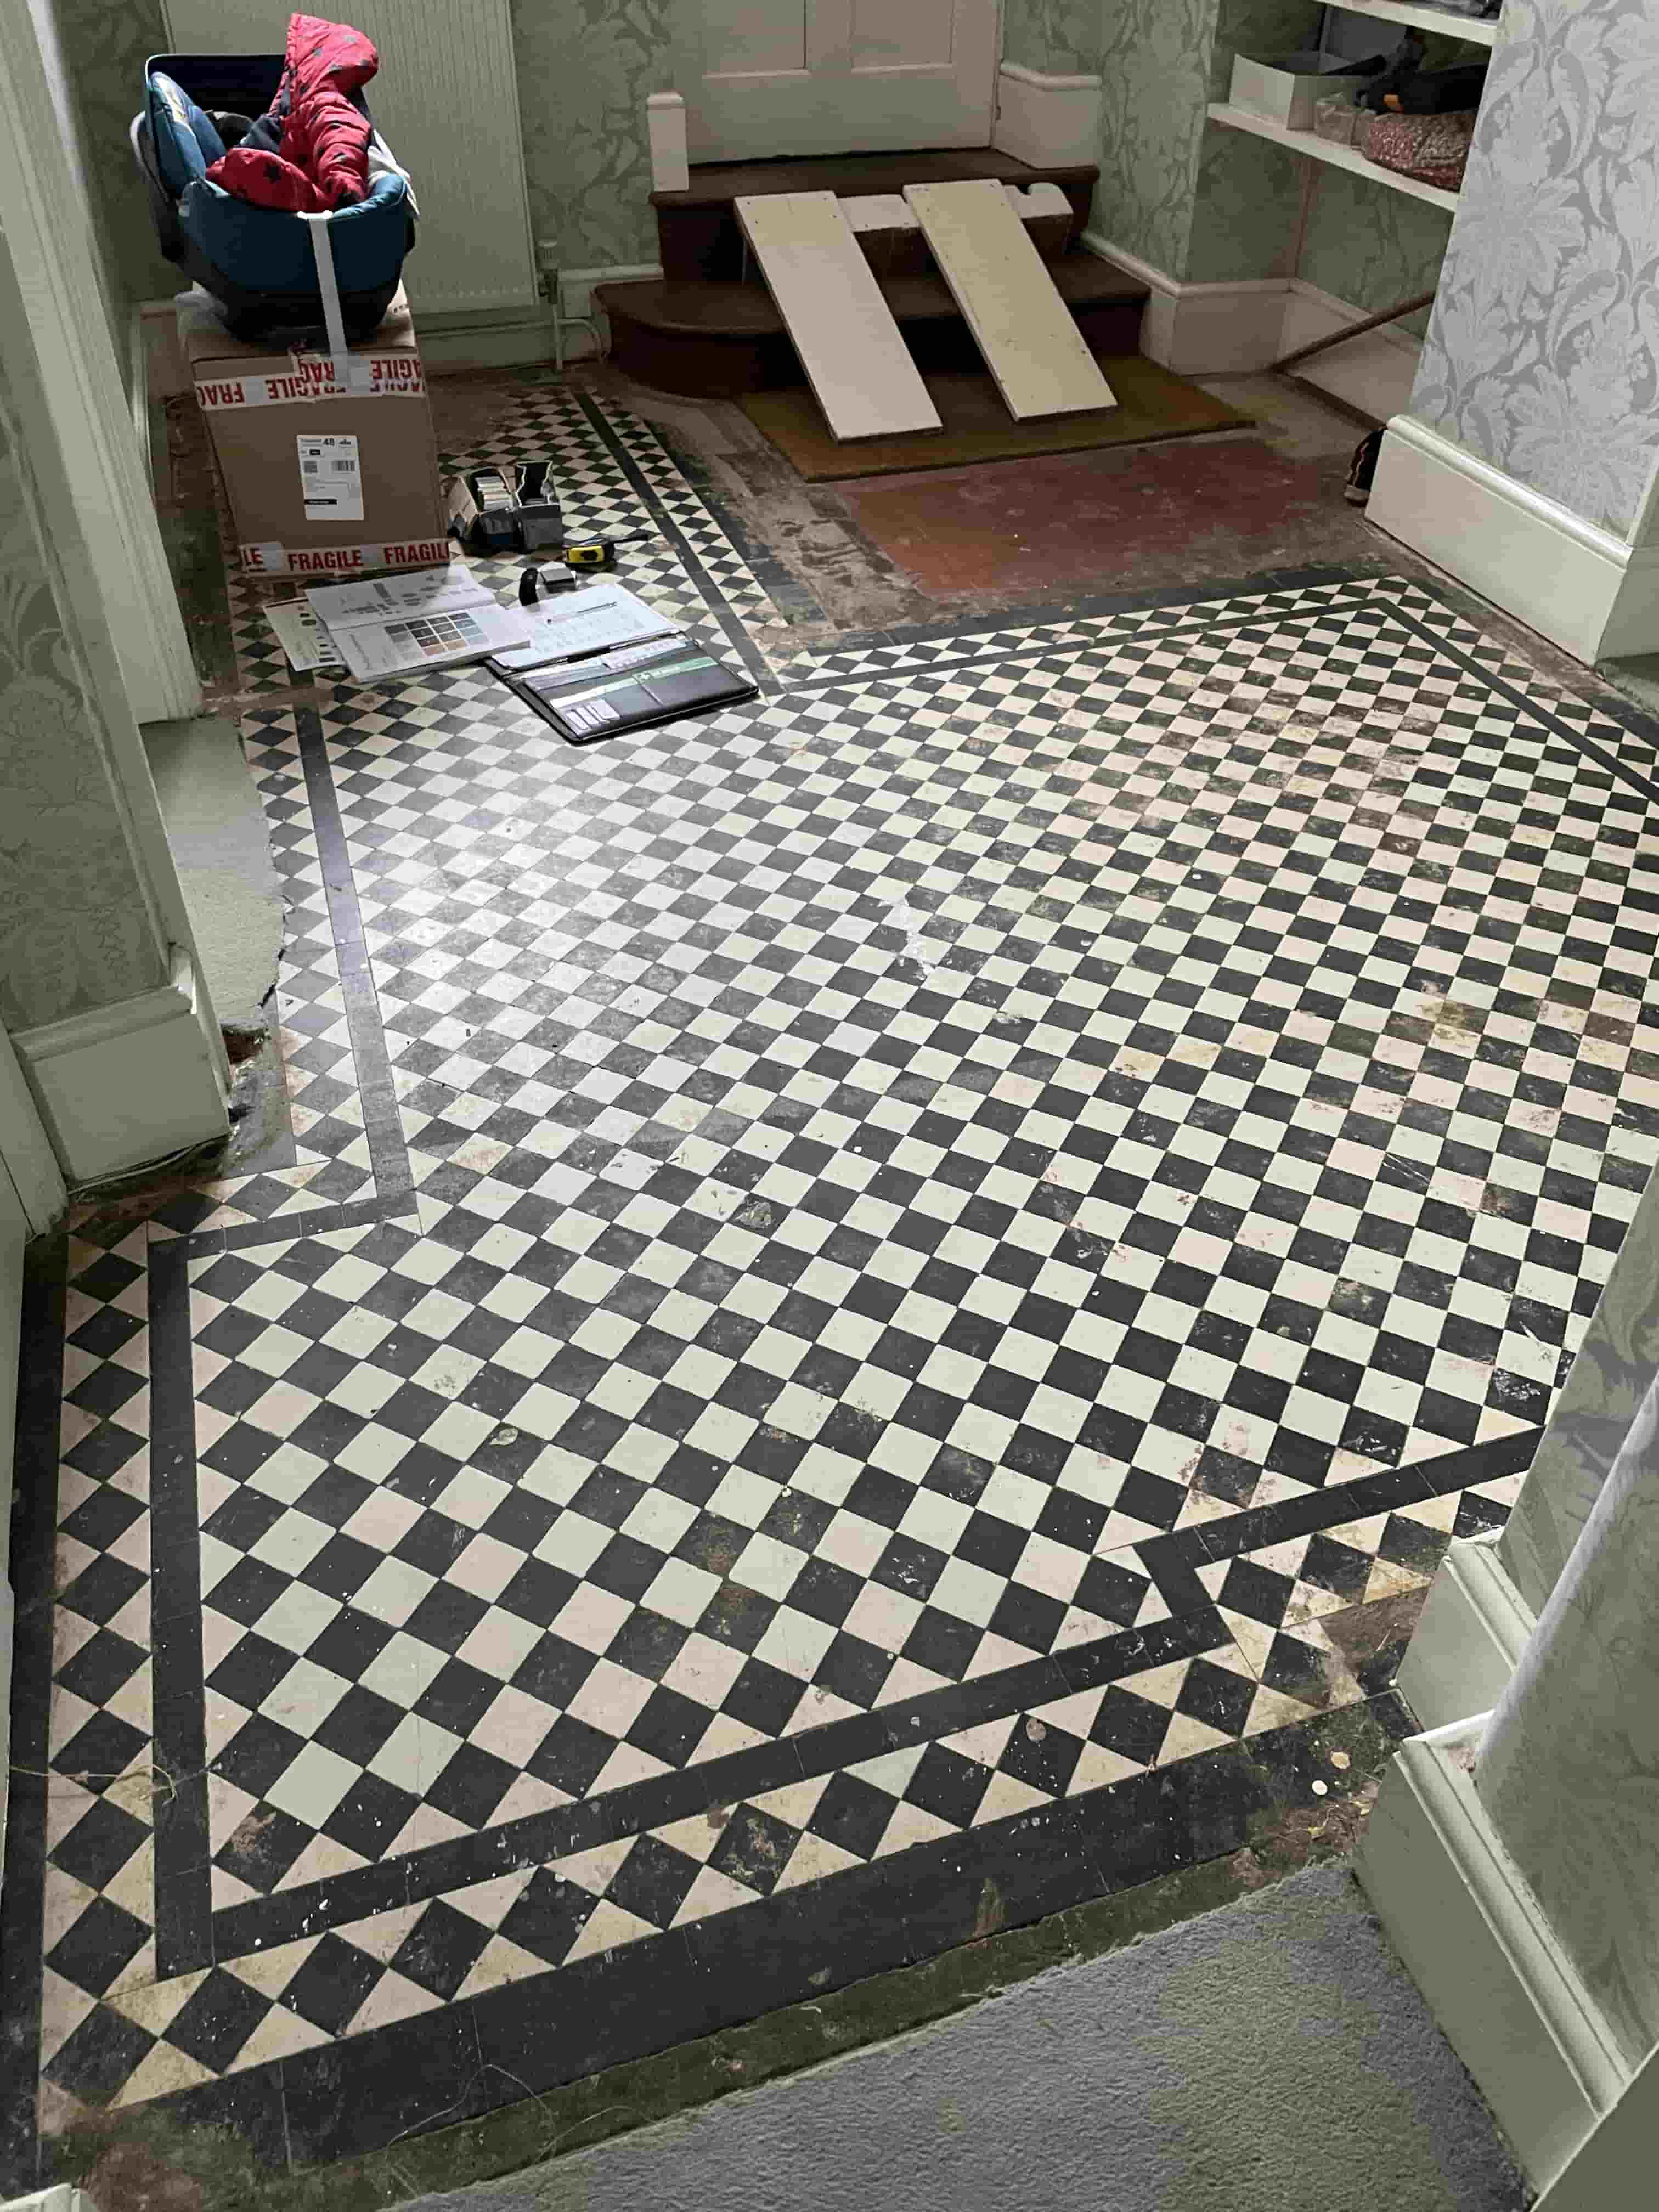 | 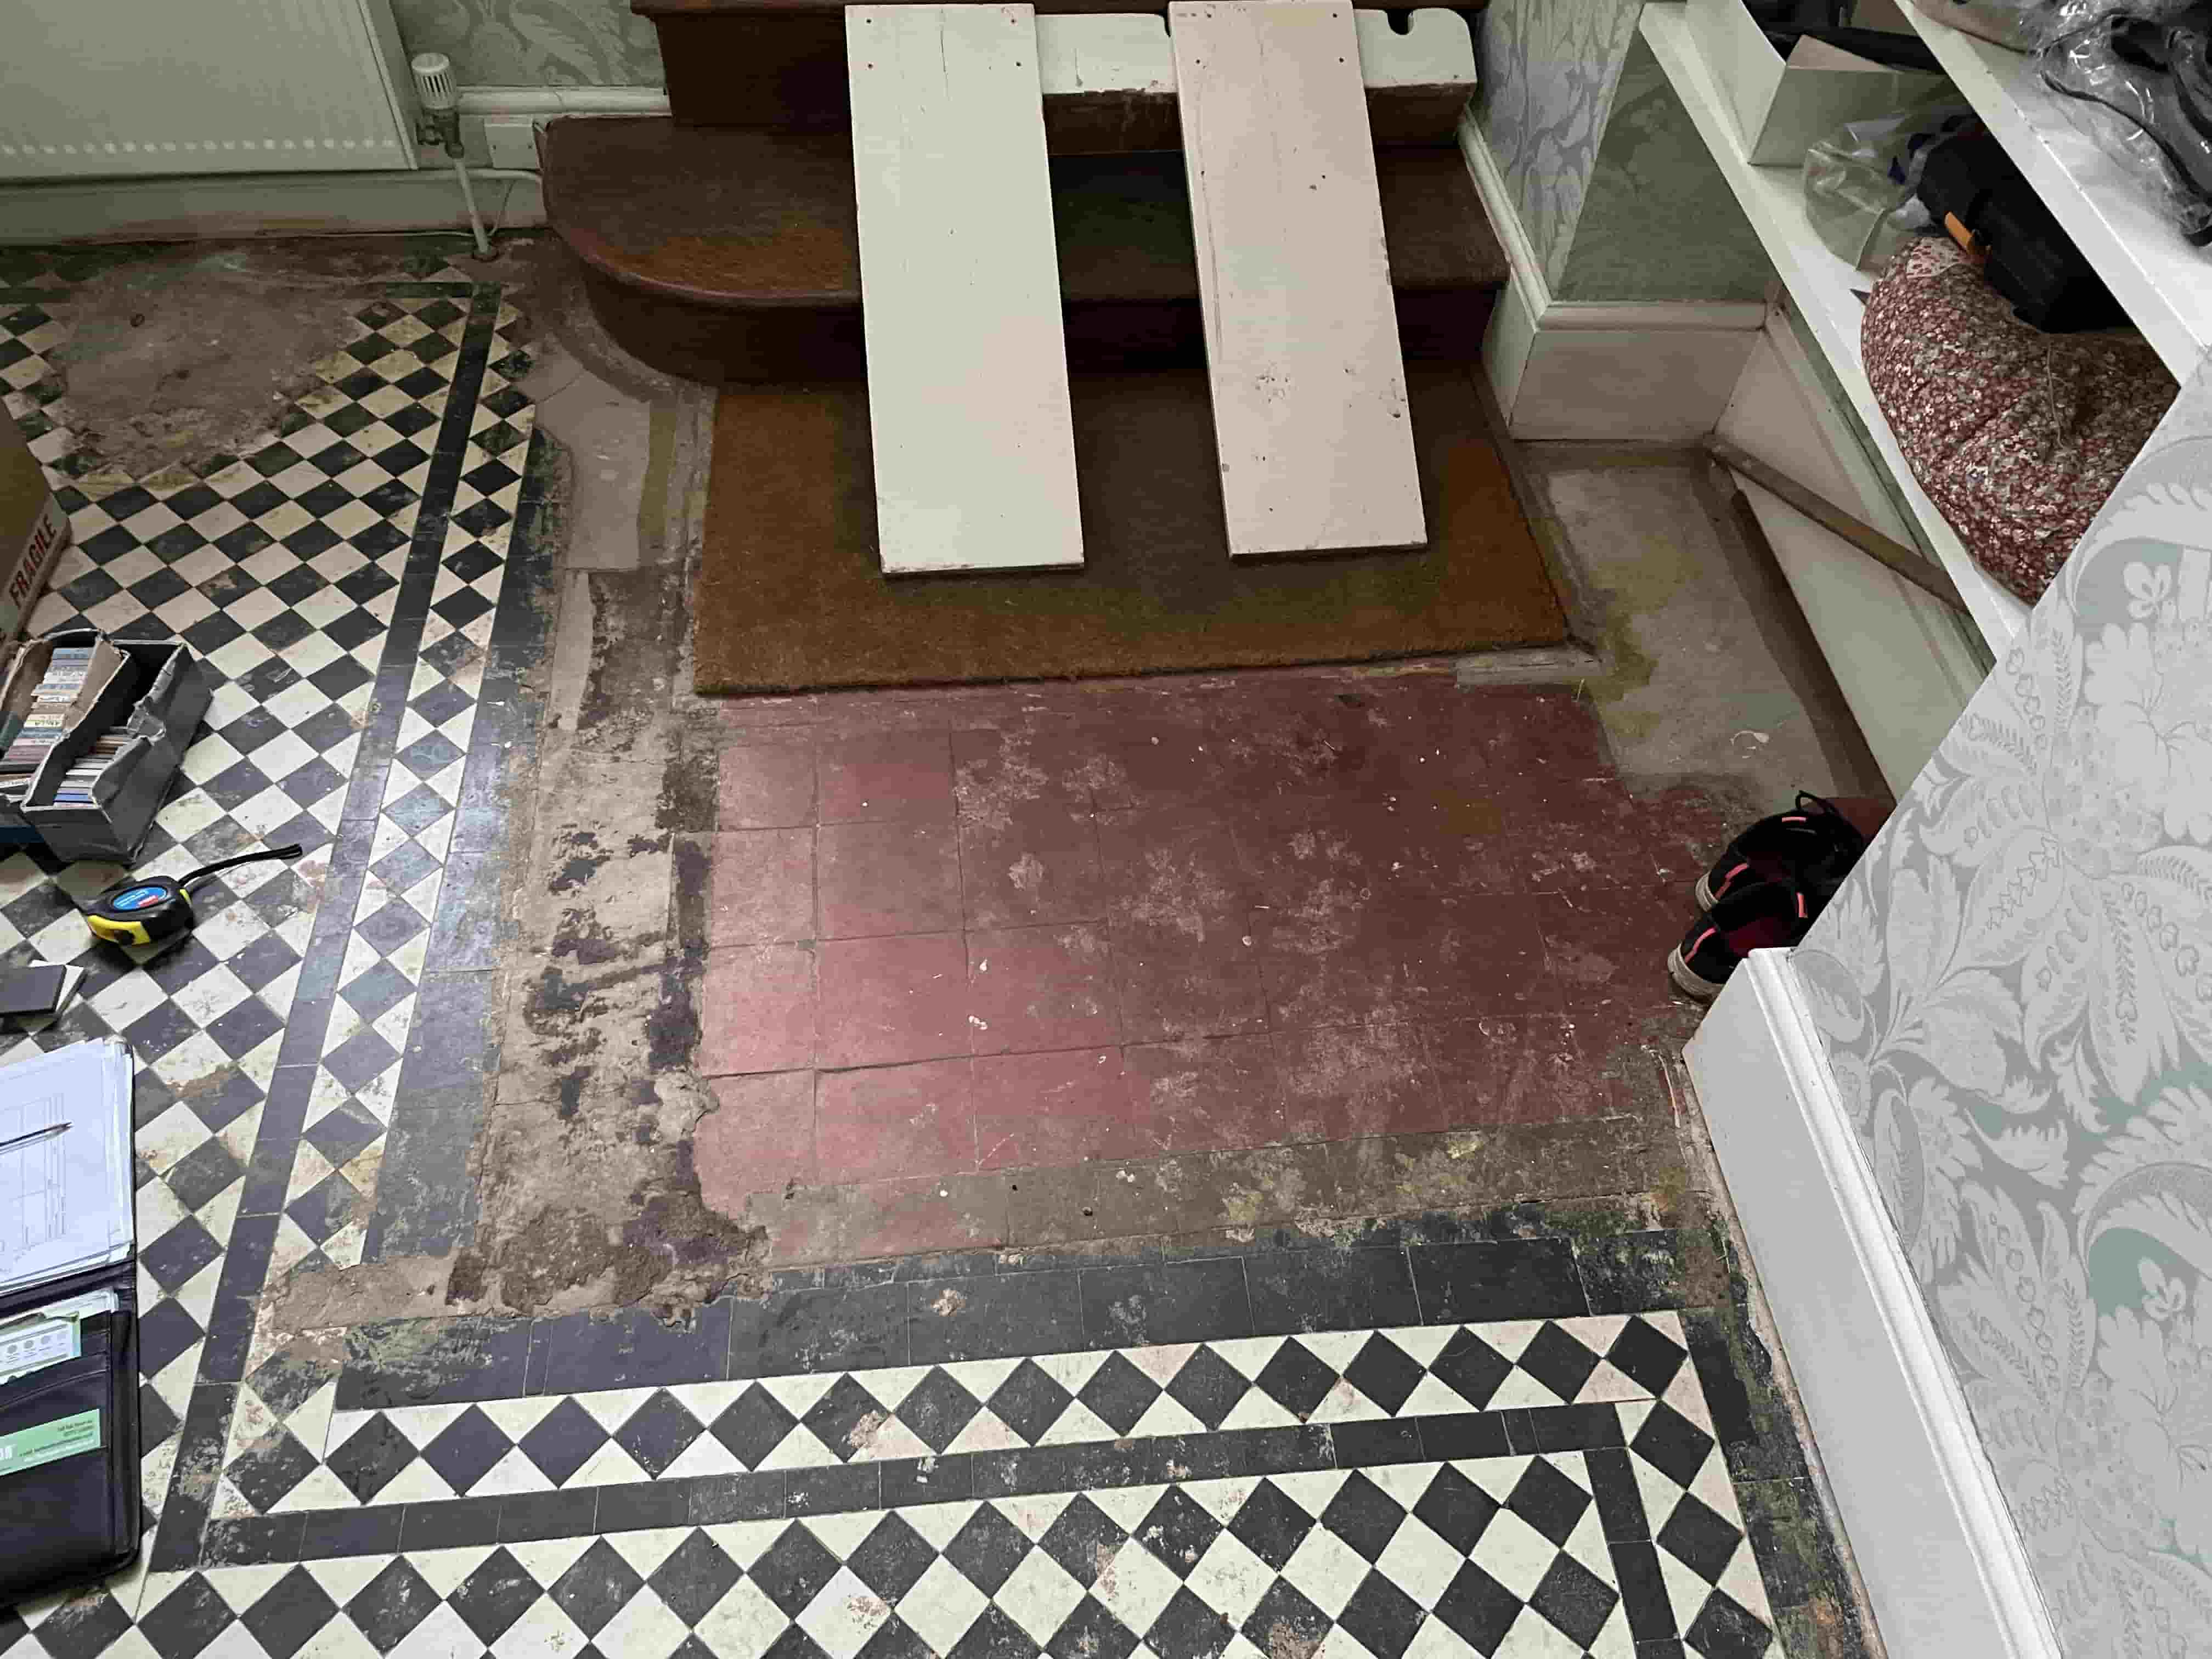 |
To do the restoration the section of Quarry tiles would need to be removed, the concrete backfill would need to be dug up and then the subfloor would then need to be levelled so it could then be re-tiled with matching Victorian replacements. During that process the whole floor would need to be deep cleaned and then sealed. It would be a big job, but we like a challenge and more than confident it could be achieved to a good standard.
Happy with our quote the customer booked us in to do the work and we agreed a date for our return.
Cleaning and Repairing a Victorian Tiled Hallway Floor
First, we carried out a deep clean on the existing floor tiles using Tile Doctor Pro-Clean and Tile Doctor Remove and Go. We agitated the combined cleaning solutions using polypropylene floor pads fitted to a rotary machine and hand cleaned the grout using stiff brushes. The cleaning process lifts the dirt and old sealers out of the tiles which was removed using a wet vacuum. The tiles were rinsed with water to remove further dirt and further cleaned with steam to lift staining out of the tile.
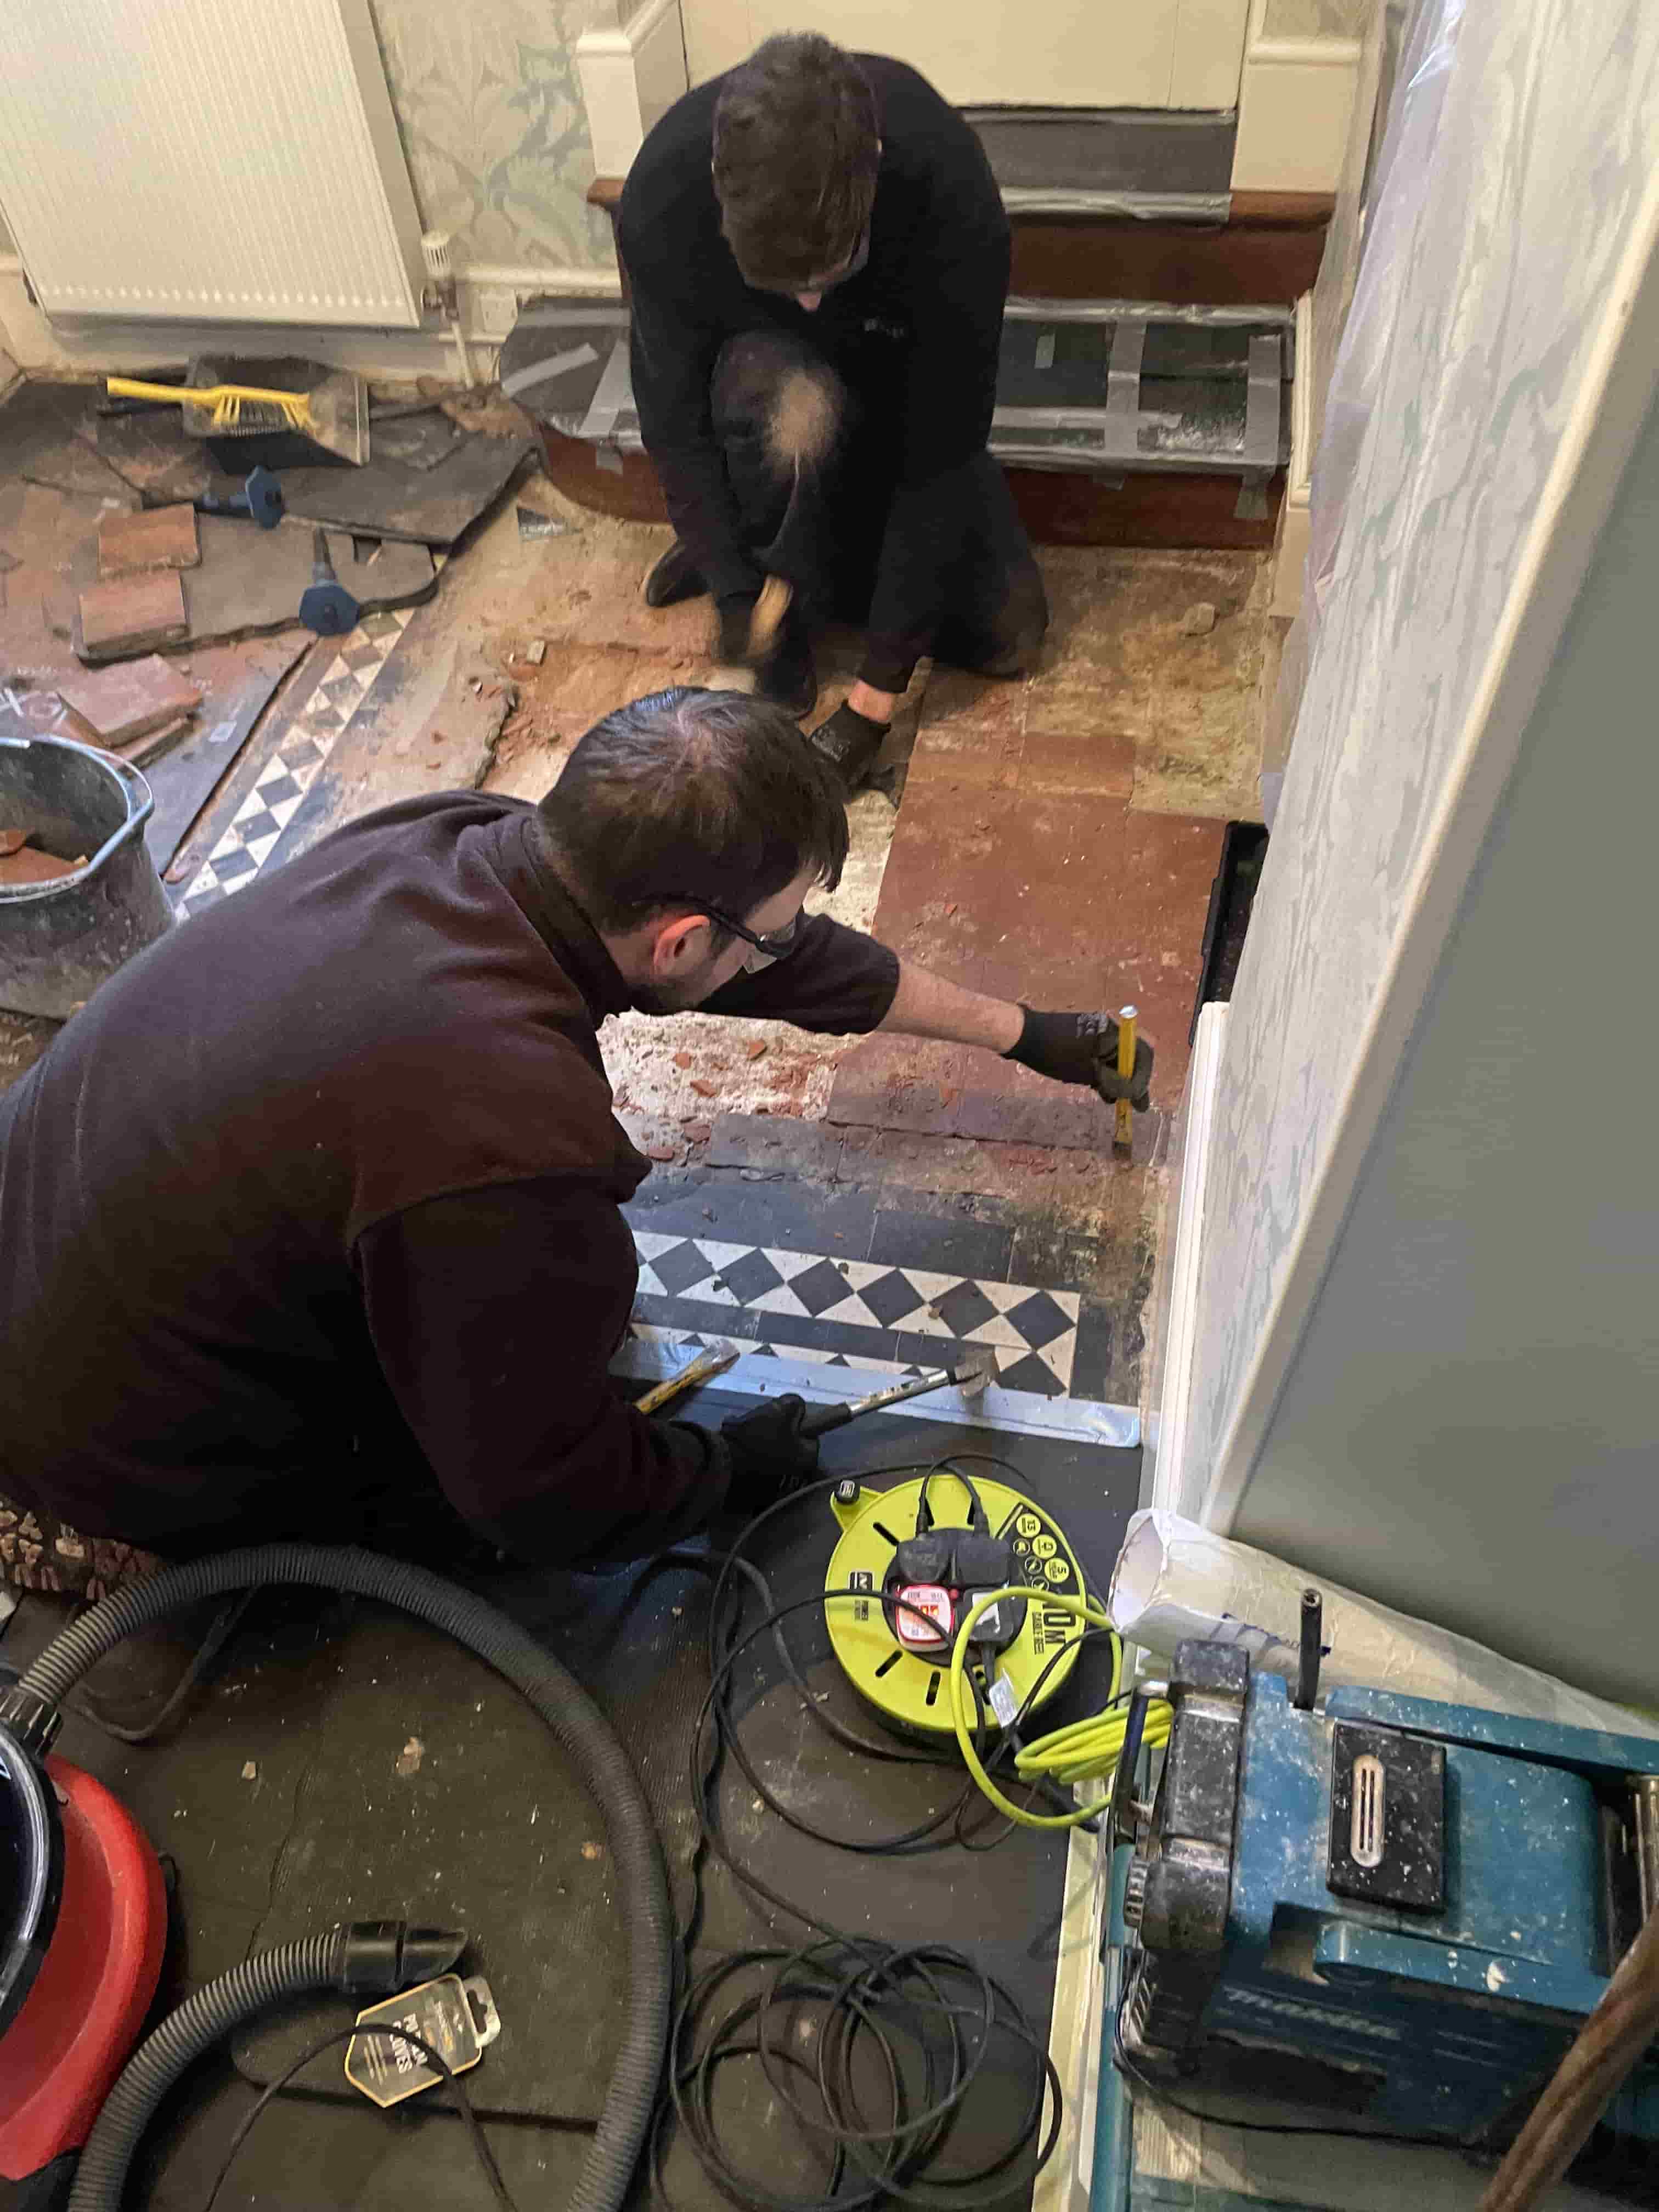
The next step was to remove the concrete backfill out of the floor and border edges. These areas were carefully chased out to remove the concrete, and the immediate surround tiles carefully lifted.
We then carefully removed the existing quarry tiles and border tiles in the entrance area. The surrounding tiles were also carefully removed so that we could get back to a level where we can consistently follow on the floor pattern. A new subbase was then laid in preparation for the new tiles.
 |  |
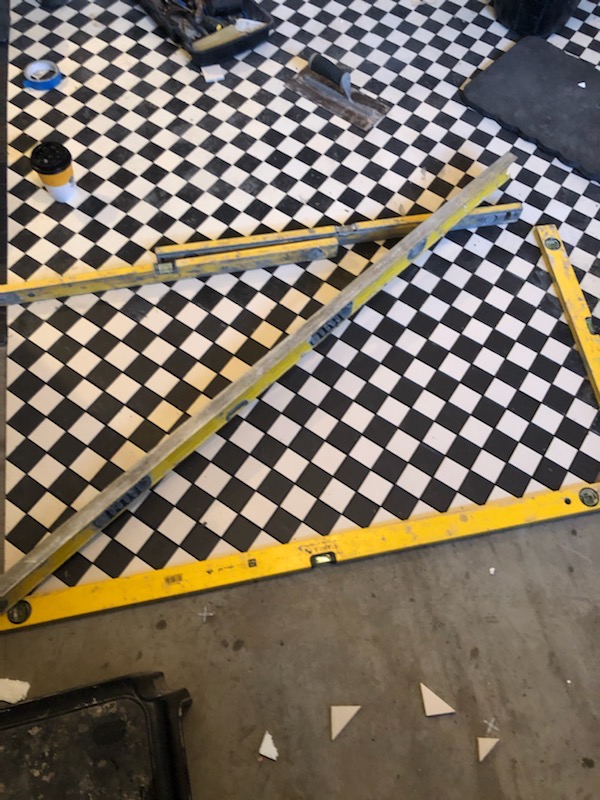
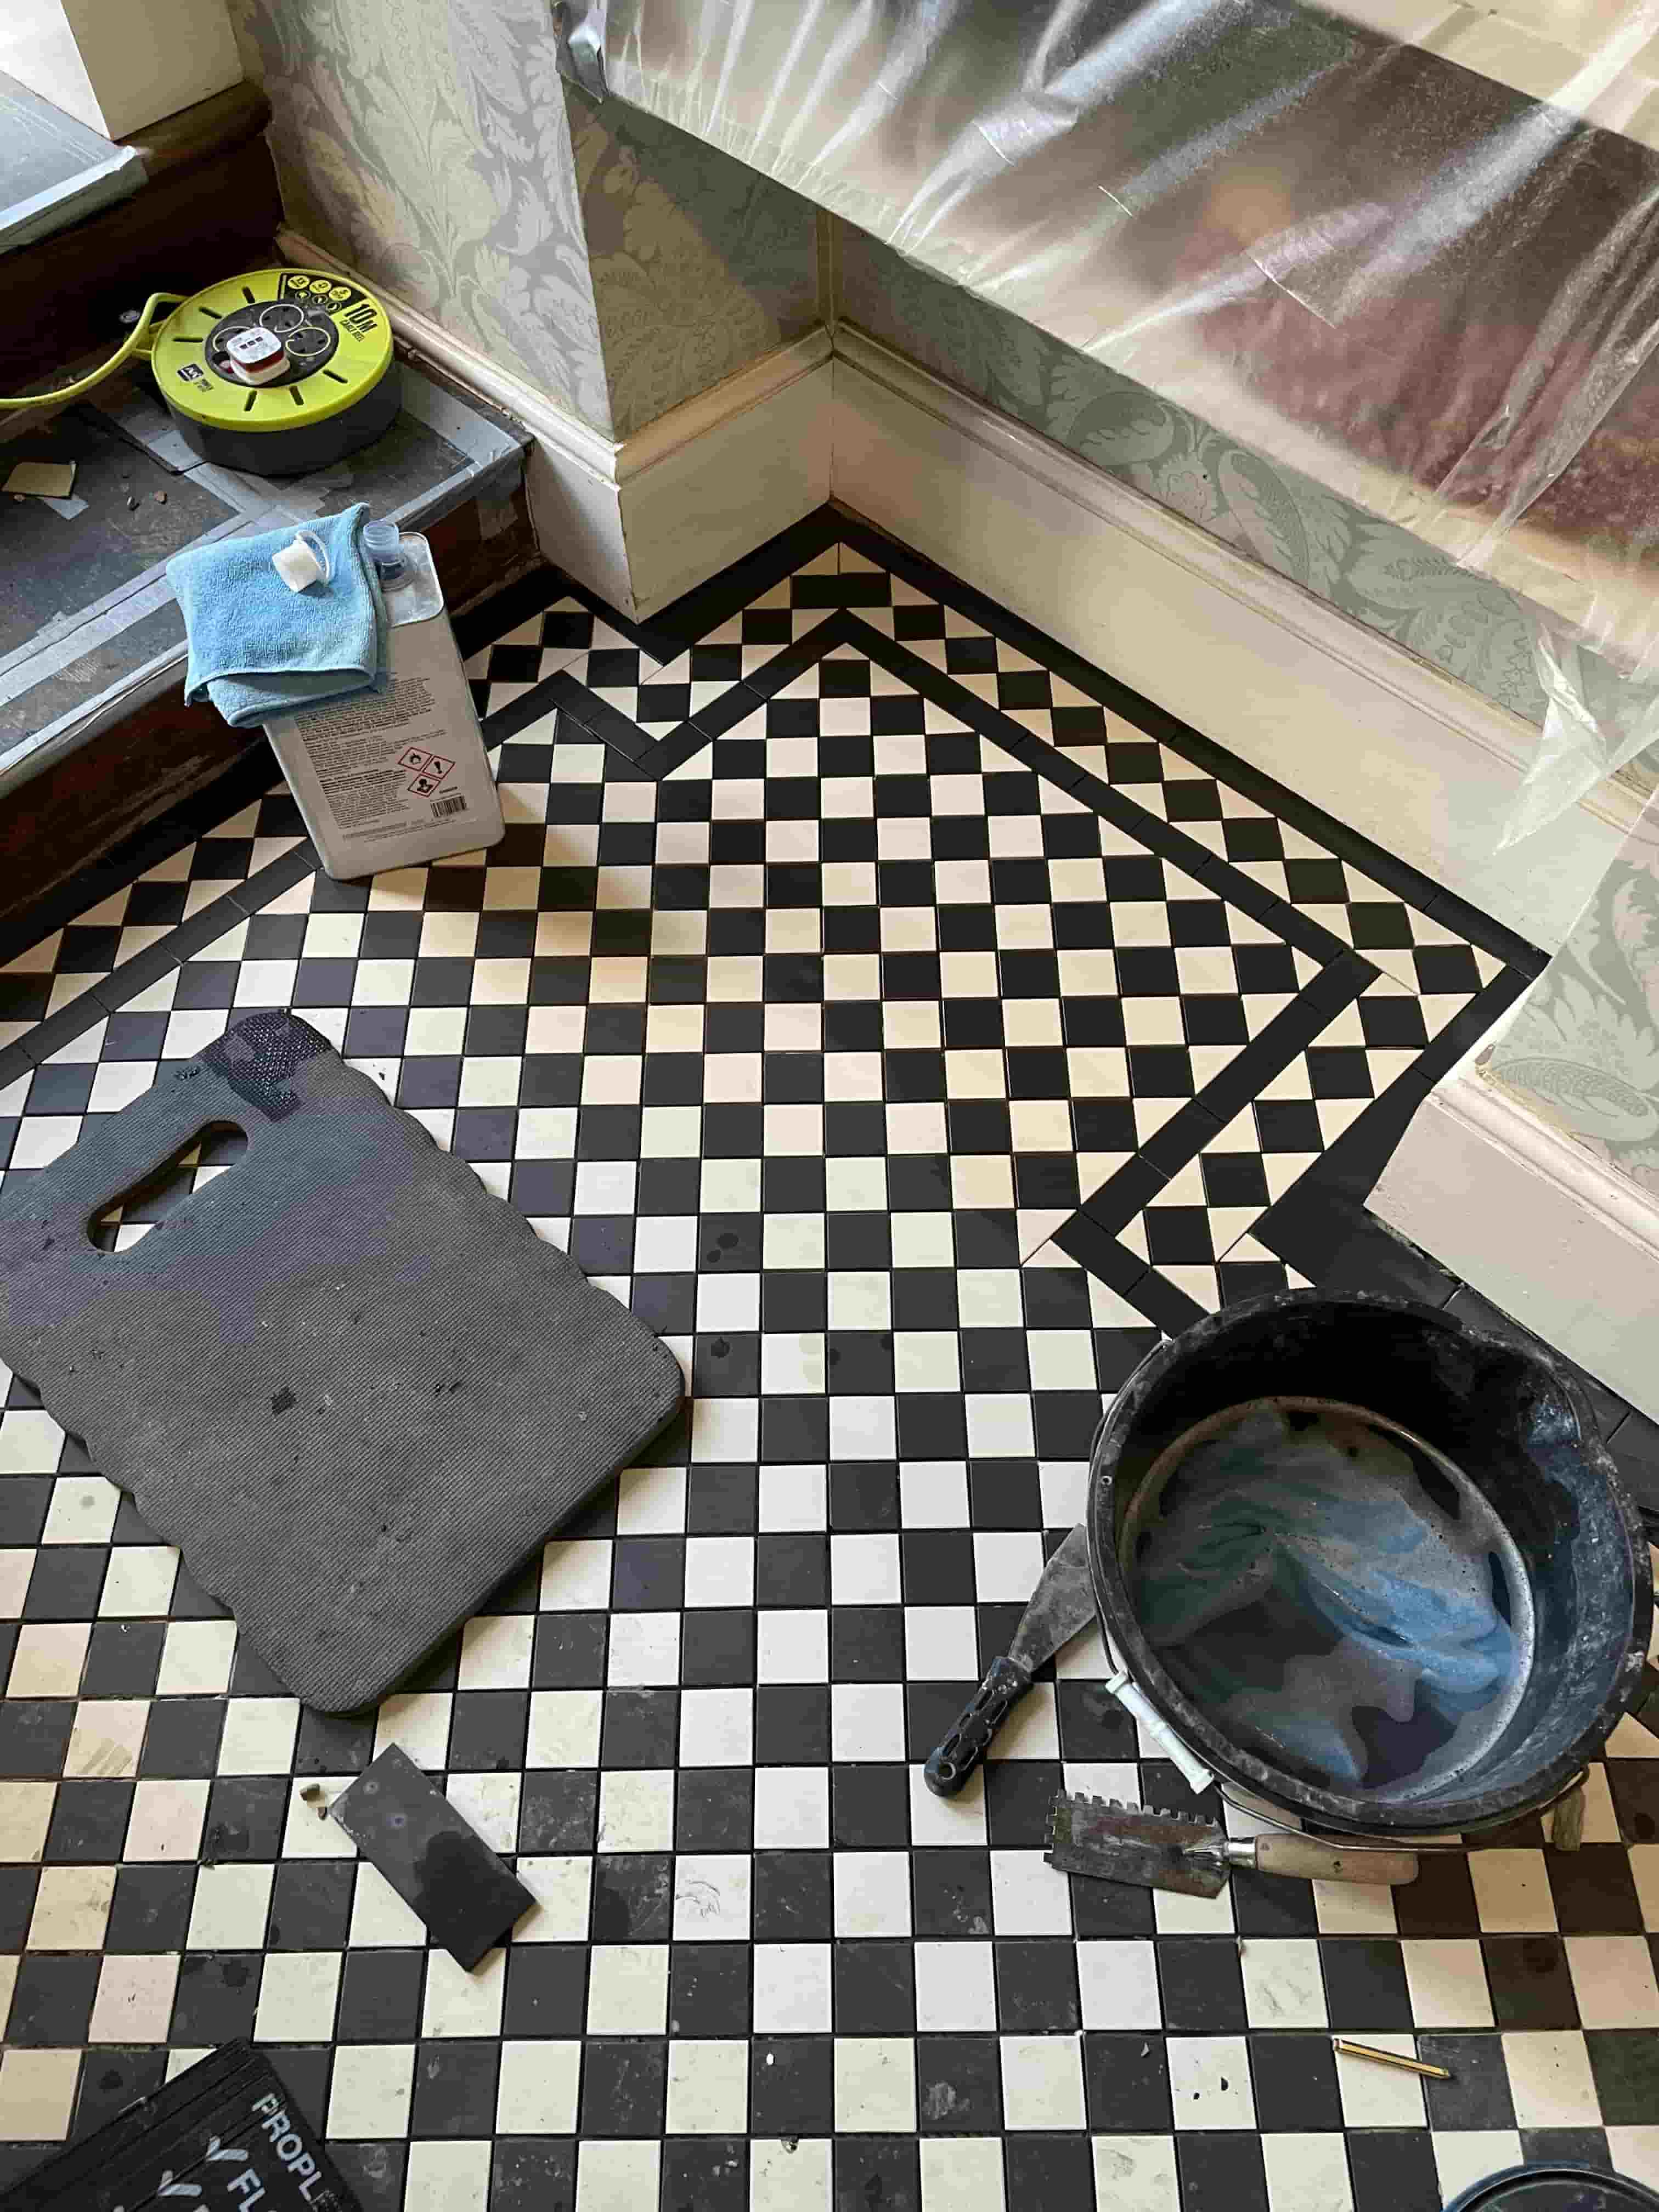
When relaying replacement tiles into an existing pattern, it is important to ensure the configuration is consistent with the existing geometric floor pattern. To achieve this, we use set squares and spirit levels to ensure the pattern is aligned and level. It is also important to note that the new Victorian tiles are approx. 1.5mm smaller than the original Victorian tiles. We applied this to the large area at the base of the steps. The repairs also included realigning and relaying the door thresholds off the hallway and repairing and relaying three to four damaged sections.
Finally, we worked out the spacing for the border tiles and around the entrance steps.
 |  |
We then regrouted in mid grey to all newly laid areas. We cleaned off the grout haze using Tile Doctor Acid Gel and buffed.
Sealing a Victorian Tiled Hallway Floor
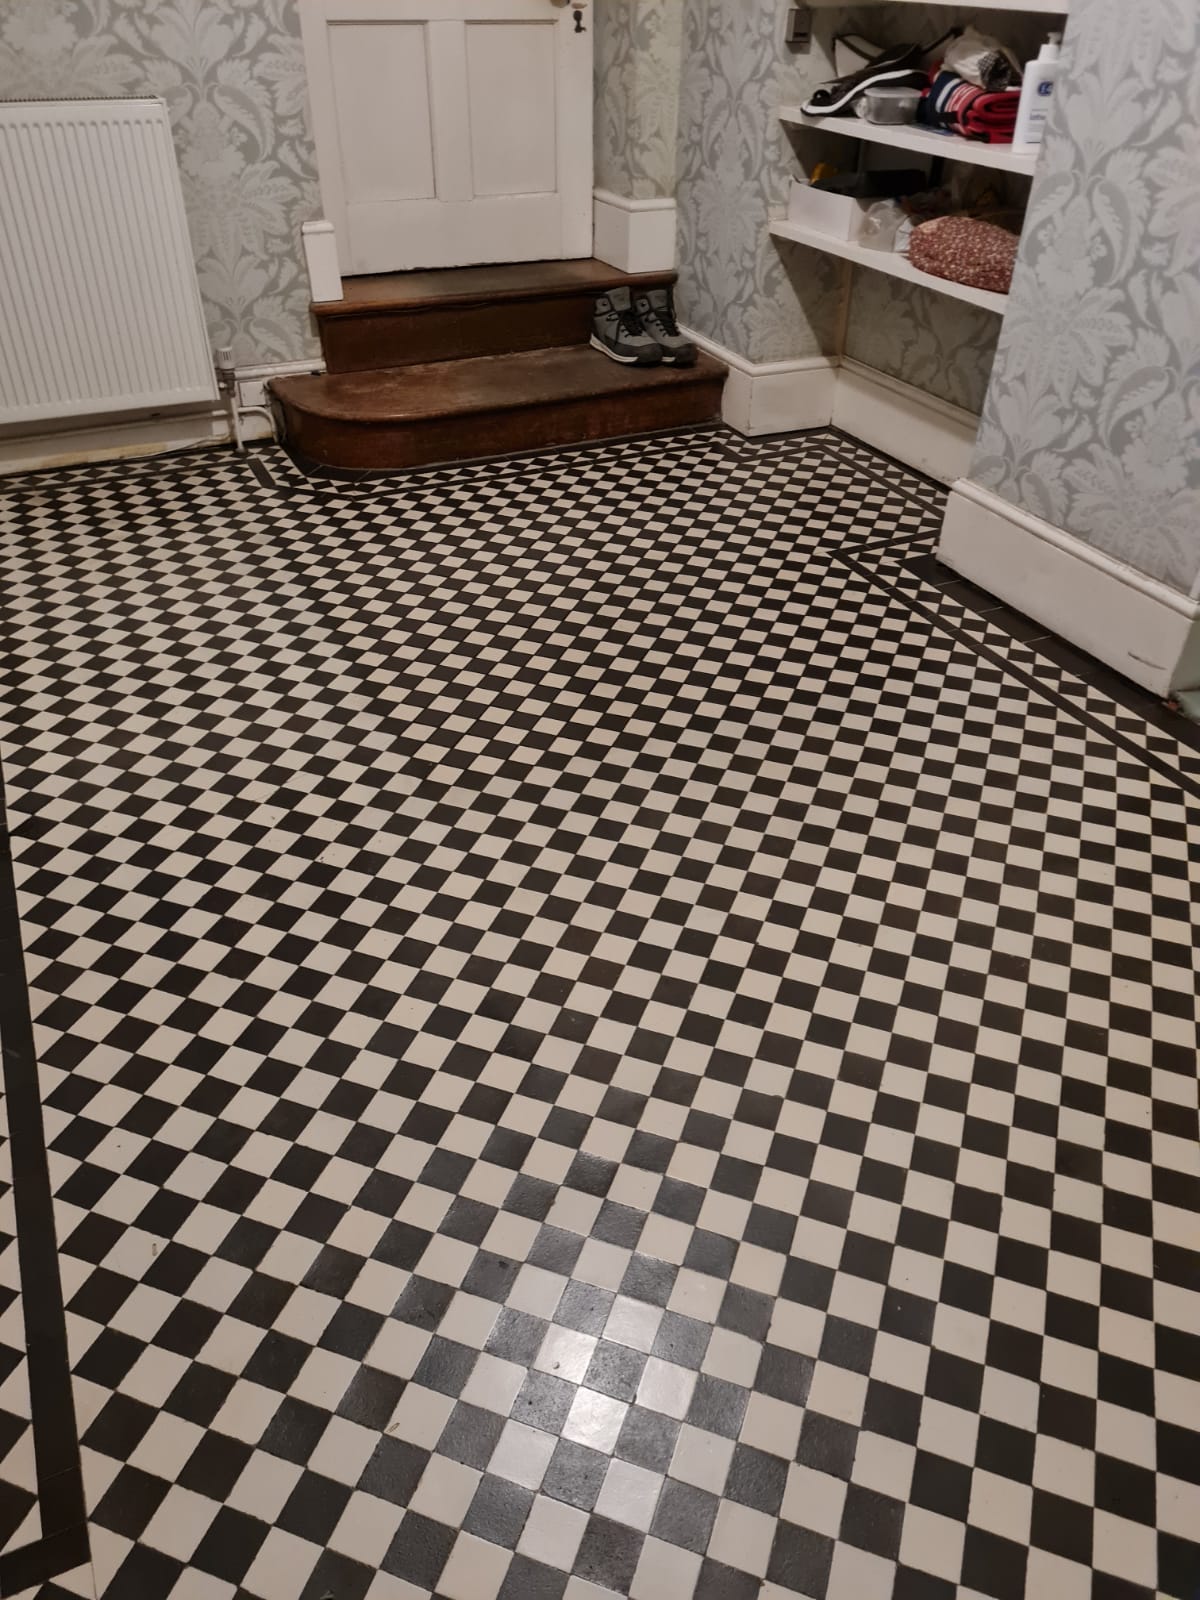
To seal the floor, we first used a consolidator primer seal, Tile Doctor Colour Grow, followed by five applications of a protective acrylic wax seal Tile Doctor Seal and Go, which gave the floor a rich satin finish.

The work took five days to complete. Following the completion of the floor we have advised the customer to maintain the tiles using Tile Doctor Neutral Cleaner which has a neutral pH and so will not impact the sealer.
Source: Victorian Floor Tile Products and Services in Ware Hertfordshire
