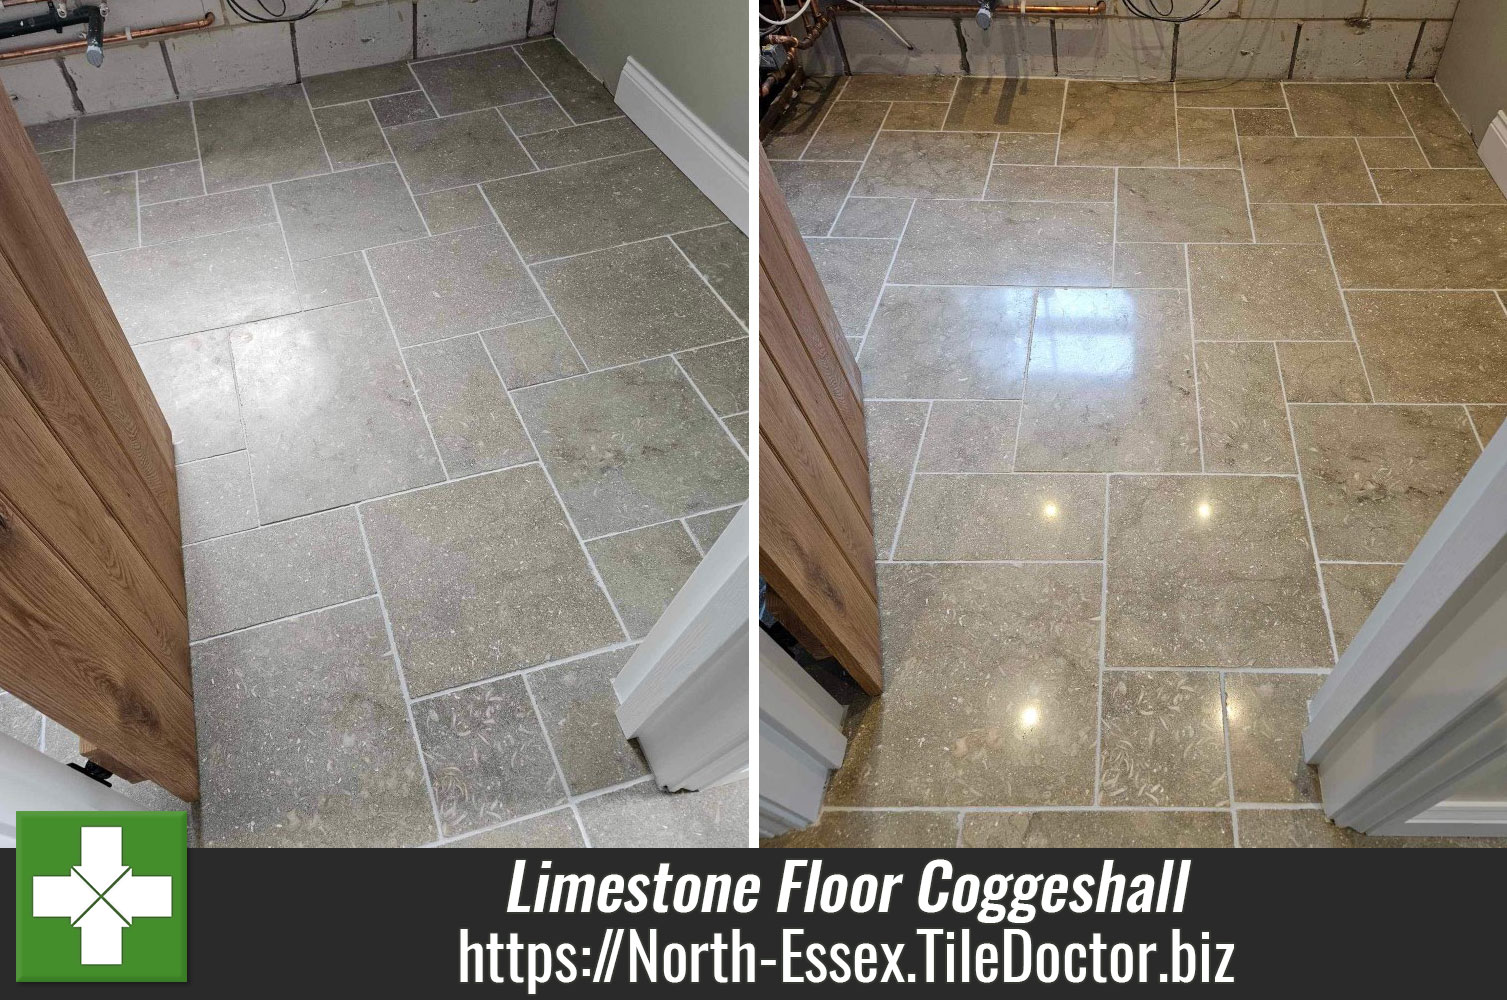
Tile Doctor Burnishing Pads Used to Remove Grout Haze from Limestone Tiles in Coggeshall Essex
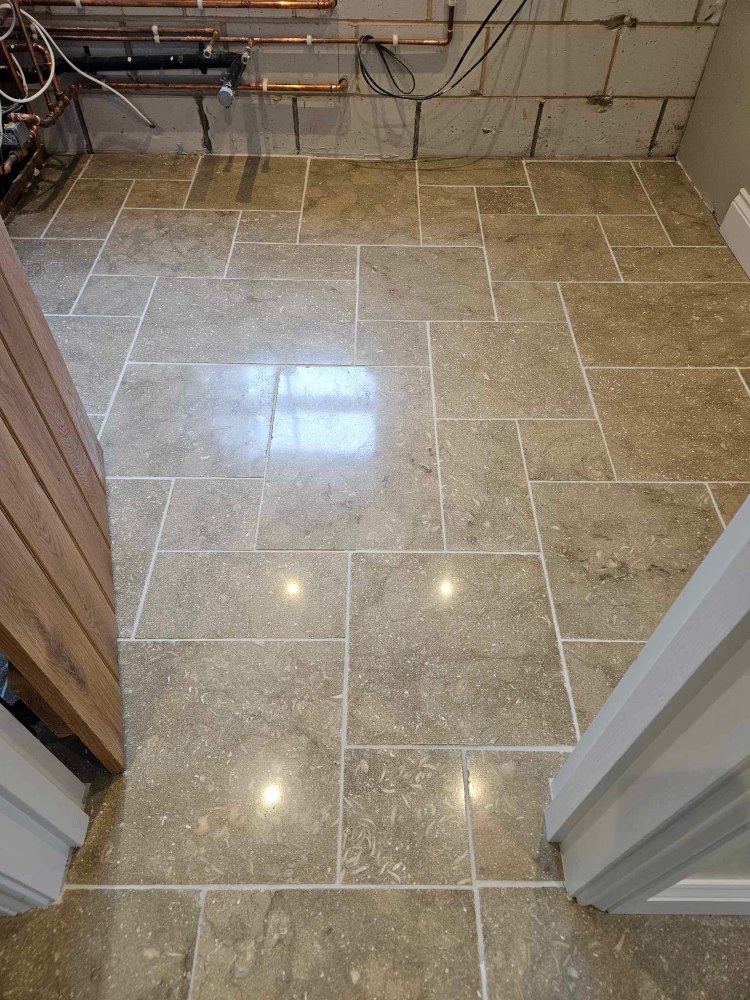
This Limestone tiled floor covered the entire ground floor of this house in the town of Coggeshall. The owner had matching tiles installed in an extension and realised that the tiler had not managed to polish off all the grout which had left them dull.
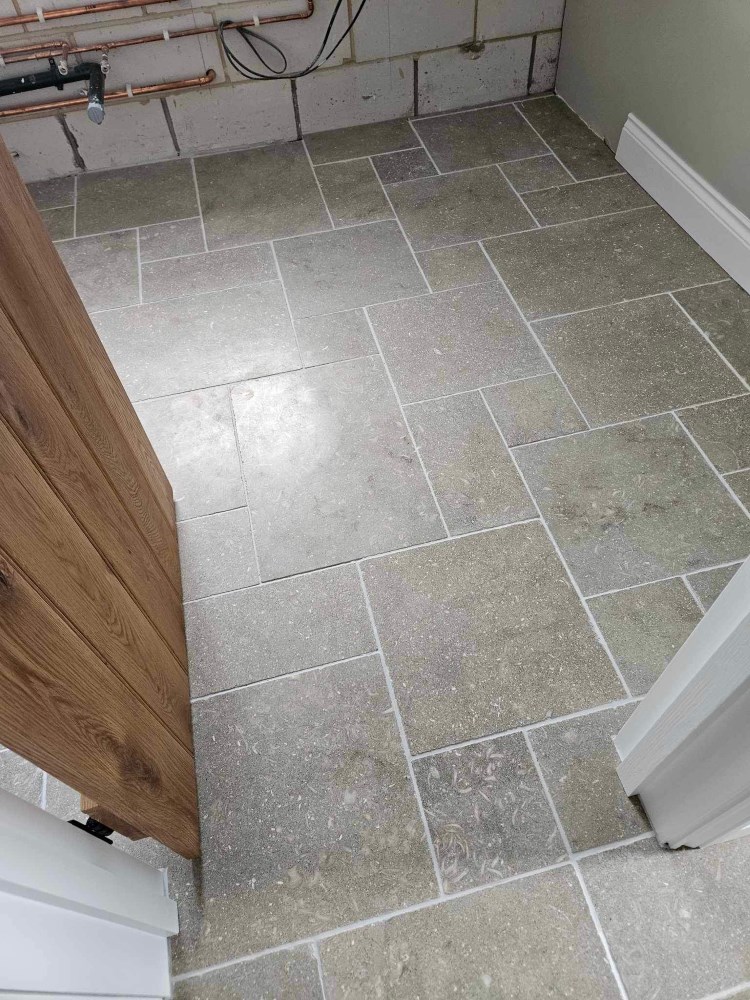
This is a common problem known as grout haze and after researching it online he decided to try cleaning off the grout with an acidic product. This is a common solution for more robust stone or tiles; however, Limestone is acid sensitive so instead of removing the grout haze he made the problem worse by etching the stone tiles instead.
The second problem he had was the grout on the original floor had darkened overtime with dirt being washed into the grout line whereas the grout on the new floor was much cleaner. You can see from the photos how odd this looked especially when moving between the two areas.
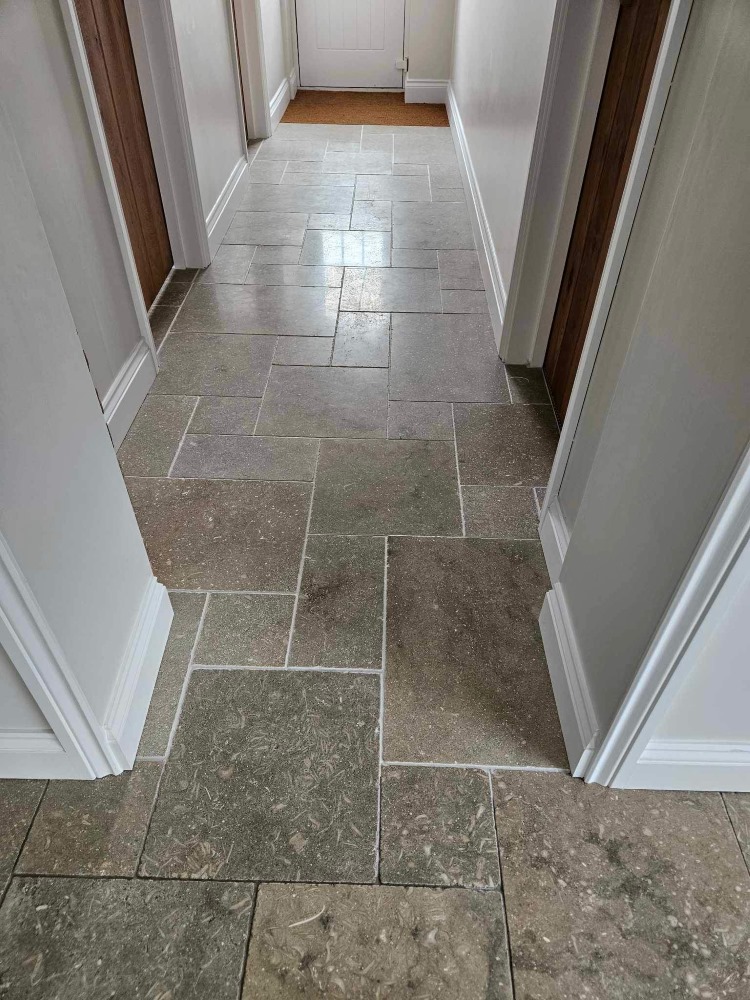
I was asked to deep clean the original grout, remove the grout haze on the new floor and then get the two floors to match as much as possible by polishing both floors (which would also remove the etching) and applying a fresh sealer. I worked out a quote based on three days’ work along with the necessary products, given the size of the floor I asked Bruce who is the Suffolk Tile Doctor to assist.
Grout and Limestone Tile Cleaning
To remove the old sealer and clean up the grout on the original floor, a strong dilution of Tile Doctor Pro-Clean was applied to the tiles and worked in with a black scrubbing pad fitted to a rotary floor machine. The grout was then scrubbed by hand with more Tile Doctor Pro-Clean and the slurry rinsed off with water. There was a lot of grout lines to cover and in-total we used around five litres of Pro-Clean in the process.
Both original and new sections of floor were then burnished with diamond pads to blend the two floors together and remove the etching on the newly laid tiles in the process. This was done with a set of Tile Doctor Burnishing Pads starting with 400-grit and working up to 1500-grit, water is used for lubrication and then the floor rinsed and extracted after each pad. The floor was left for a short while to dry out.
Again, this was a large area but with two Tile Doctors on the job we managed to get through it.
Sealing a Limestone Tiled Ground Floor
To seal the Limestone the owner was happy to go with my recommendation of applying Tile Doctor Colour Grow. This product contains a colour intensifying formula which brings out the different colours and fossils in the stone. It’s also an impregnator which works by soaking into the pores of the Limestone, filling up the spaces and thereby preventing dirt from becoming ingrained in the stone. Put simply, the sealer will ensure any dirt remains on the surface where it can be easily cleaned away. It was a large area so we used five litres of Colour Grow to seal the floor.
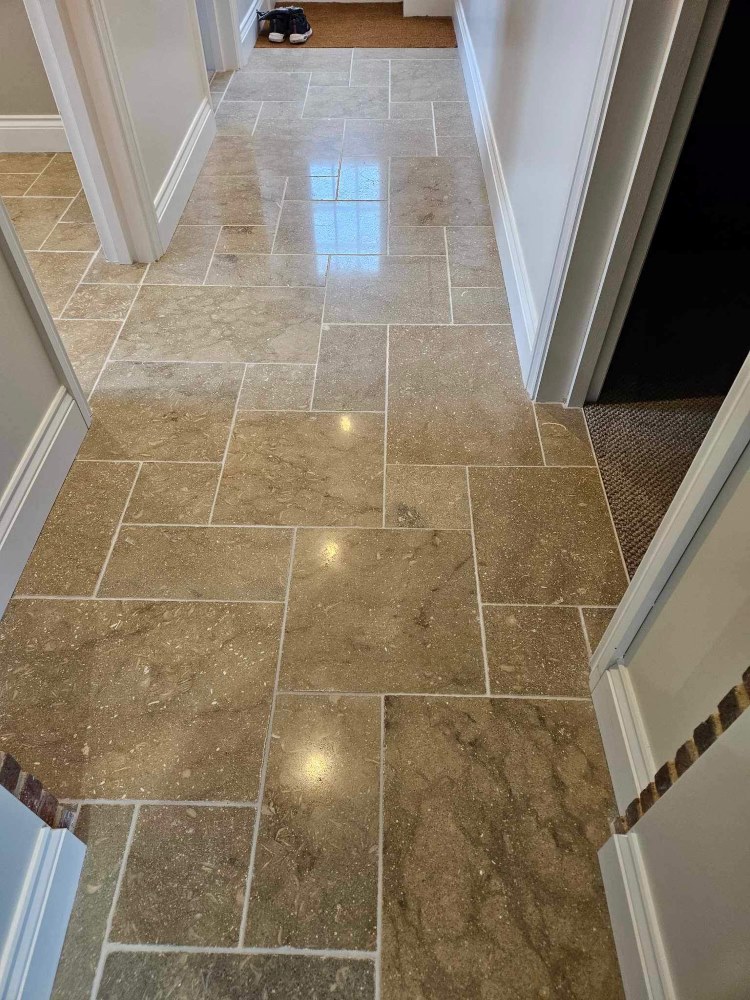
The work took both of us three days to complete and once done my client was amazed by the transformation and was so happy that the two floors now looked the same. For aftercare I left them with a free bottle of Tile Doctor Neutral Cleaner to maintain their floor. This product is a gentle yet effective tile cleaner that won’t harm the newly applied sealer which can be an issue with stronger products.
Source: Limestone Floor Tile Cleaning and Sealing service in Coggeshall Essex
